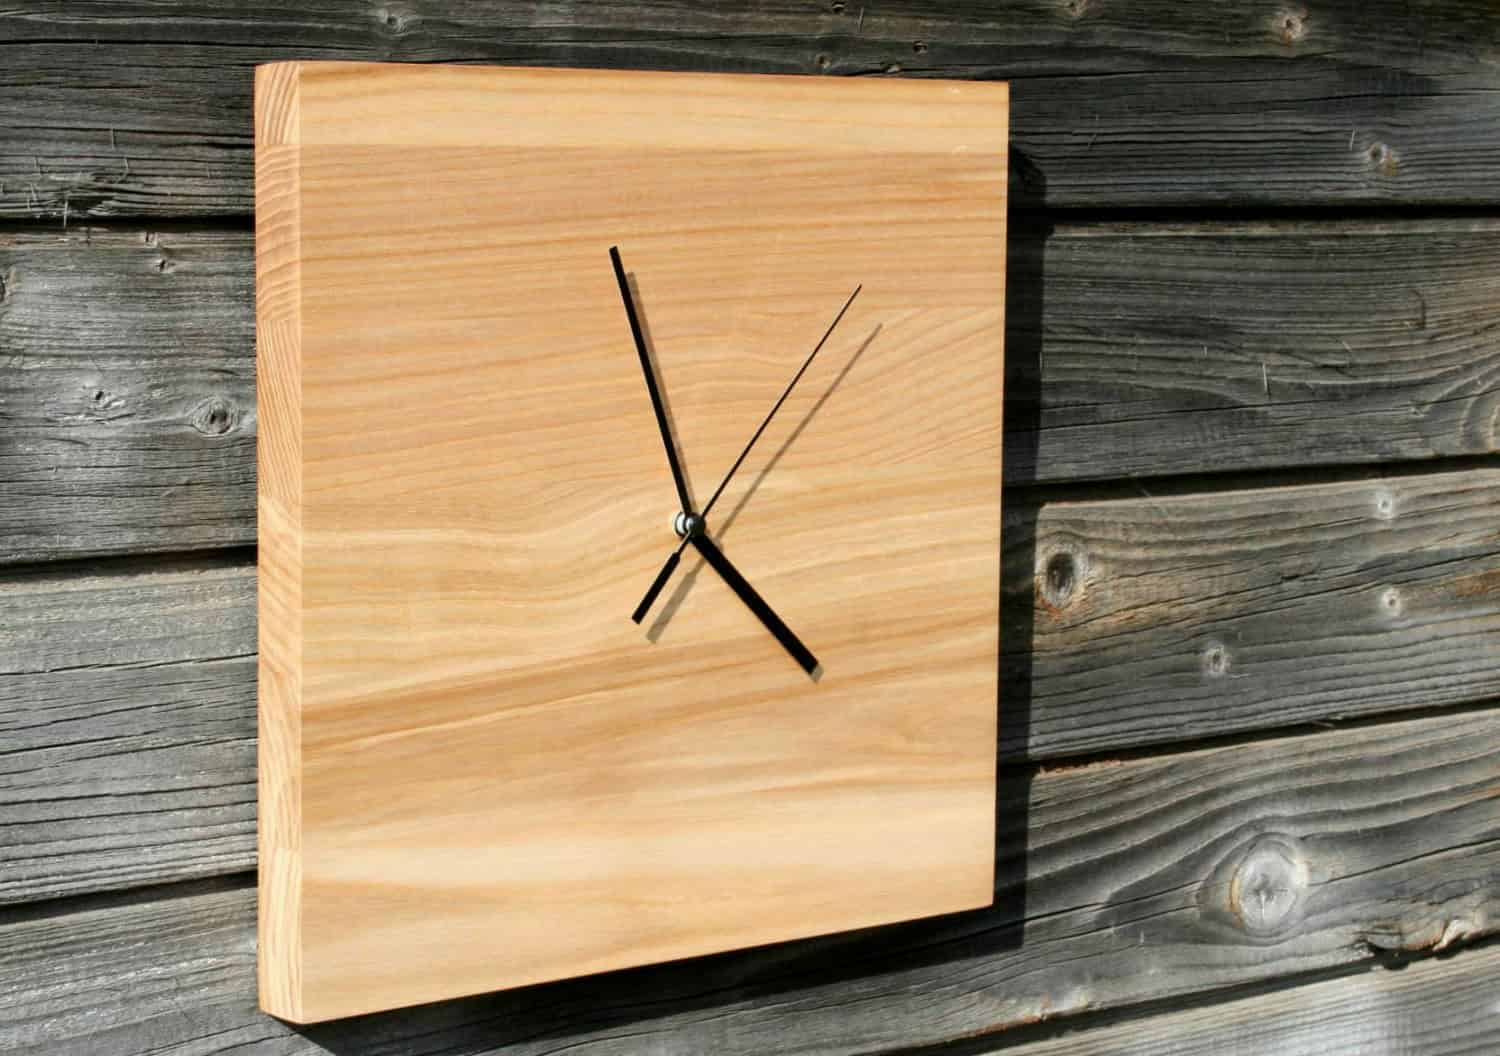
Alright, you wanna make a wooden clock? Awesome! It's a great project, and trust me, you don't need to be a woodworking wizard to pull it off. You can do this with basic tools and a little bit of patience. Let's get started!
## Planning Your Wooden Timepiece:
First things first, you gotta decide what kind of clock you're making. Think about the style, the size, and the materials. Do you want a classic round clock, a funky square one, or something totally unique? Think about your space â€" what would look best in your living room, kitchen, or bedroom?
Once you have a general idea, grab a pencil and paper and start sketching. This will help you visualize the design and figure out the dimensions you need. Don't worry if your drawing skills aren't perfect; it's just a starting point.
## Choosing Your Wood:
Now, let's talk wood. You can use just about any kind of wood for your clock, but some are easier to work with than others. If you're a beginner, I'd recommend using something like pine or plywood. These woods are relatively soft and easy to cut.
You can find wood at your local hardware store or lumberyard. If you're feeling adventurous, you might even check out reclaimed wood from old furniture or pallets. Just make sure it's clean and dry!
## Gathering Your Tools:
Alright, time to gather your tools. For this project, you'll need:
A saw: You can use a handsaw, jigsaw, or even a circular saw if you have one.
A drill: This is essential for making holes for the clock hands and for mounting the clock mechanism.
Sandpaper: You'll need various grits of sandpaper to smooth out your wood.
A screwdriver: For attaching the clock hands and mechanism.
A measuring tape and pencil: For marking your cuts and making sure everything is in the right place.
Wood glue: This will help hold everything together.
Clock mechanism: You can find these online or at craft stores.
Clock hands: These should match your clock mechanism.
Finish (optional): You can add a stain, paint, or varnish to your clock for a more polished look.
## Cutting and Shaping:
Okay, now for the fun part: cutting and shaping your clock! Using your chosen saw, cut the wood to the dimensions you decided on. Remember to measure twice and cut once!
If you're making a round clock, you'll need to use a compass or a circular cutting guide to cut out the circle. You can also use a jigsaw to create more elaborate shapes.
Once you've cut out your clock face, you can start shaping it. Use sandpaper to smooth out the edges and give your clock a nice finish. If you're going for a rustic look, you can leave some of the wood's natural texture.
## Drilling the Holes:
Now, it's time to drill some holes. You'll need to drill a hole in the center of your clock face for the clock mechanism. The size of the hole will depend on your mechanism.
Make sure you drill straight, or the clock hands won't align properly.
You might also need to drill holes for the clock hands. The mechanism will usually have a small hole for the hour hand, and a slightly larger one for the minute hand. Again, make sure you drill straight!
## Assembling the Clock:
Alright, your clock face is ready, and now it's time to add the movement. Carefully attach the clock mechanism to the back of the clock face. Make sure the mechanism is centered and level. Use wood glue or screws to secure it in place.
Next, attach the clock hands to the mechanism, making sure they're aligned correctly. The hour hand should point directly at the 12, and the minute hand should point at the 1.
If you want, you can add a little extra detail to the clock face, like a decorative border or even a small picture. Just let your creativity flow!
## Finishing Touches:
And last but not least, time to add some finishing touches. You can stain, paint, or varnish your clock to protect it and give it a unique look.
If you're using stain, be sure to apply it evenly and let it dry completely. If you're painting, use a brush or a roller, and apply multiple coats for a smooth finish. And if you're using varnish, choose a varnish that's suitable for your chosen wood.
## Mounting and Enjoying Your Clock:
Your wooden clock is almost ready! You can mount it on the wall using a sawtooth hanger on the back or simply use a clock stand.
Now, all you need to do is set the time and enjoy your handiwork! You can hang it proudly on the wall, admiring your creativity and the unique timepiece you made with your own hands.
Making a wooden clock might seem intimidating at first, but it's really a great way to bring a personal touch to your home. And remember, this is just a basic guide. Feel free to experiment with different designs, materials, and finishes to make your clock truly unique! Happy crafting!